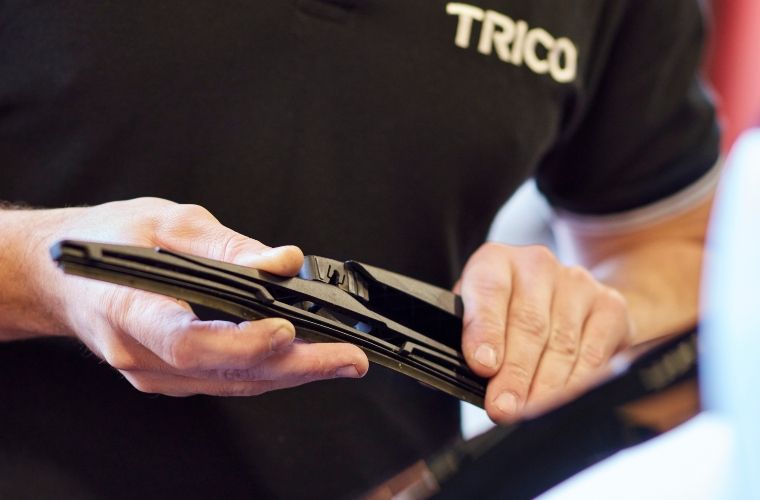
All vehicles require basic maintenance, from refilling them with fuel to replacing worn wiper blades, even when using long-lasting brands such as TRICO. One of the most fundamental aspects of car maintenance involves changing the oil. Since oil functions as a lubricant for the mechanical parts of a car, it is essential for keeping the vehicle running well and ensuring that the engine operates smoothly. The interval at which oil needs to be changed depends on many factors, including the type of oil, the engine design, and even the season. You should refer to the owner’s manual of your car for information on the recommended intervals. Many people choose to take their vehicles to a shop to get their oil changed, but it is also possible to do it at home, as it is one of the simpler maintenance processes. If you choose to change your own oil, keep the following tips in mind:
1. Invest in a good drain pan.
When you drain the oil from your vehicle, you need a pan to catch it rather than let it flow out onto the ground. Several different types of pans exist, and most amateurs do best with funnel-top drain pans that catch the oil easily and do not let any of it spill. Also, the pan should have a drain so that the oil can be quickly transferred to a different container without the risk of spilling it. Many states and municipalities have laws about how to dispose of oil, so make sure that you understand your legal obligations. Many auto stores will collect used oil for recycling. Call around to make sure you have a good disposal plan. Pouring the used oil into the bottles that the new oil came in will make it simple to transport it for disposal rather than keeping it in the drain pan.
2. Get the engine temperature right.
Hot oil can cause serious burns, so you should make sure not to put yourself at risk by changing the oil after the engine has been running for a long time. Ideally, you should wait about 20 or 30 minutes after driving your vehicle to allow the oil cool down to a temperature that will not harm you. However, cold oil can also be difficult to change, as it becomes quite viscous. If then engine has not been run recently, start the vehicle and idle for just a couple minutes. This short period should get the oil warm enough to flow freely, but not hot enough to cause burns. Of course, you should always exercise caution when changing the oil and assume that it is hot. Wearing rubber gloves can help to provide a protective barrier. Also, it is helpful to have a bunch of towels handy in order to quickly address any spills in a safe manner.
3. Buy a tool for removing the filter.
Part of a complete oil change is putting a new oil filter in your vehicle. Many people struggle to get the oil filter out, particularly when their hands are covered in oil. However, several different tools exist to get filters off easily, and investing in one will reduce the risk of damaging the engine or yourself. Some of these tools are specific in size to the type of filter, while others can be used on a wide variety of different filters. If you are unfamiliar with the different types of tools that exist, be sure to ask someone at the store about the best options available. Tools that have a clamp are universal but can be difficult to use in tight spaces, while those with a claw can sometimes crush the filter or tear it open. Another style that is often best for the home oil change involves three adjustable jaws.
4. Seal the filter before replacing it.
One of the most common mistakes people make when changing their own oil is failing to seal the filter properly when it is replaced on their vehicle. You should never put the filter back on with a dry seal. When the seal is dry, it will fit loosely and become leaky. Over time, the filter can become unthreaded and fall off, which can prove extremely hazardous on the road and troublesome for the engine. Before replacing the filter, you should fill it about halfway with clean oil and then run your finger along the seal to spread some of the oil along it. This extra step will ensure an adequate seal for the filter and prevent any problems with a loose-fitting filter.
5. Check the engine oil level afterward.
Before you perform an oil change, be sure to read the owner’s manual. The manual will explain the weights of oil appropriate for the engine, as well as the amount needed to fill the crankcase. While the amount listed is correct, various engine issues can cause filling problems, so as a last step, you should always be sure to check the oil level in the engine prior to pouring in the second to the last bottle and then again after the last bottle. This way, you can be sure that the level of oil is appropriate for the engine. In addition, it is a good idea to check the level again after you have driven for a few miles to ensure that there are no leaks. You should visually inspect the engine after driving to see if you can find any smaller leaks, particularly around the oil filter and the oil pan drain plug.