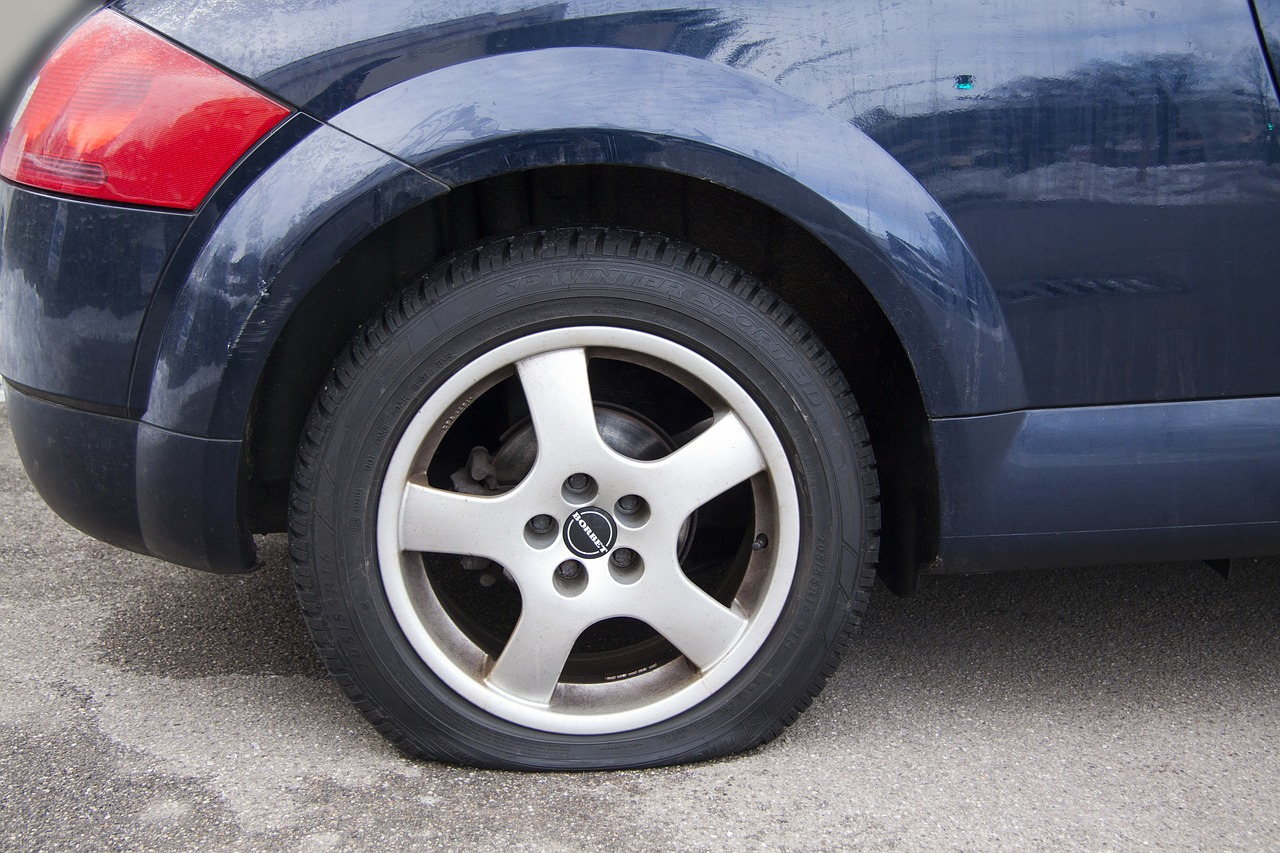
One of the most basic auto repair skills you need is the ability to change a flat tire. Since a flat tire can occur unexpectedly and in a wide range of different conditions, make sure you are prepared with a spare and the necessary equipment in your vehicle. New vehicles come with these kits, but it is still important to double-check that everything is there. This is even more important when buying a used vehicle, since the previous owner may not have replaced anything that was used. Luckily, the process for changing a tire is the same for any vehicle, from a small coupe to a large van or SUV.
Creating a Safe Space for Changing the Tire
The first step in changing a tire is to find a safe space for doing it. You need to find solid and level ground to change the tire. Ideally, you’d be able to drive to a parking lot or somewhere far from speeding cars, but if you need to pull over on the road, get as far from traffic as possible and avoid curves in the road that will make you invisible to other drivers.
Look for a spot that’s brightly lit and make sure to put your parking brake and hazard lights on, which will keep the vehicle from rolling and alert other drivers to your location. You should make sure you have everything you need before you get started so you aren’t stuck rummaging through your trunk while the car is jacked up. The critical tools are a jack, wrench, and spare tire, but gloves, a flashlight, and a tire gauge can make the process much easier. In addition, set up reflective orange hazard triangles along the road. Most modern tire change kits include them.
Removing the Flat Tire Safely
Once you have created a safe environment, it is time to remove the flat tire. Many vehicles have a hubcap, which is a cover for the wheel. If your vehicle has this, pry it off according to how it is attached. If the hubcaps are stock, your car manual should have directions for removing them in a way where you’ll be able to reattach them. If you have solid rims without a hubcap, you can ignore this step.
Next, loosen the lug nuts using a wrench. The wrench should be secured on each lug nut and turned counterclockwise just until the nut is loose enough to turn by hand. Repeat this process for each of the lug nuts on the wheel. Different models will have different numbers of lug nuts.
Once all the lug nuts are loose, raise the vehicle with the jack. The jack should not come into contact with any plastic molding. Many vehicles will clearly mark where the jack should go. If you don’t see any clear marking, refer to the owner’s manual to figure out where to place the jack. After it’s in place, raise the car enough to bring the tire off the ground a couple of inches. Keep an eye on the jack and ensure it stays perpendicular to the ground.
Next, continue to turn each of the lug nuts with your hand until they are removed completely. Store the lug nuts together in a safe spot, since you’ll need them to secure the spare tire. At this point, you can grip the tire with both hands and pull it toward you to remove it from the vehicle.
Placing the Spare Tire Securely on Your Vehicle
With the spare tire in hand, line up the holes with the bolts that held the lug nuts and slide the spare tire onto the vehicle. Be sure to push the spare as far back on the wheelbase as it will go. The spare tire should sit evenly on the vehicle. If one of the posts for the lug nuts looks shorter, look to see if the metal is pinched or if something is blocking its path.
Once the tire is perfectly perpendicular to the ground, put the lug nuts back on and tighten them with your hand only. Keep the tire even by tightening the lug nuts systematically and never tightening one much more than the others. After the tire is securely on the vehicle with the lug nuts tightened by hand, you can lower the jack slowly until the spare just starts to touch the ground. At this point, stop lowering the jack. The ground helps keep the tire in place.
With the tire touching the ground, begin tightening the lug nuts with the wrench. Do this in increments—do not completely tighten one nut at a time. Instead, tighten each nut a little bit, in a star pattern sequence. (Tighten one nut, then the one opposite, rather than the one next to it.) Sometimes, it’s helpful to assign a number to each lug nut to keep track of the order. You would tighten 1, 3, 5, 2, and then 4, for example, and repeat. Tightening in this manner keeps the tire on straight.
Once all the lug nuts have two passes and feel equally tight, lower the vehicle to the ground completely. At this point, double-check that the lugs nuts are all as tight as possible and continue in the same every-other lug nut order until none of them move at all.
Finishing Up
Once the tire is tight, remove the jack and be sure to clean up all your tools. Do not leave anything behind accidentally. Place the old tire in the trunk; it may be salvageable depending on what caused the flat. If you have a tire gauge, check the pressure of the spare. Otherwise, head to a gas station or auto repair center to check the pressure. Many cars have the correct tire pressure indicated on a sticker in the door jamb; otherwise, consult your owner’s manual.
Keep in mind that you cannot drive long distances or at high speeds on the spare tire, so be cautious and make sure you get the vehicle to a mechanic or tire shop as quickly as possible. Remember to ask whether you need to replace the spare when you get the new permanent tire. Generally, it’s good practice to replace a spare tire once it’s been used, but it may not need replacement if you drove only a short distance on it.